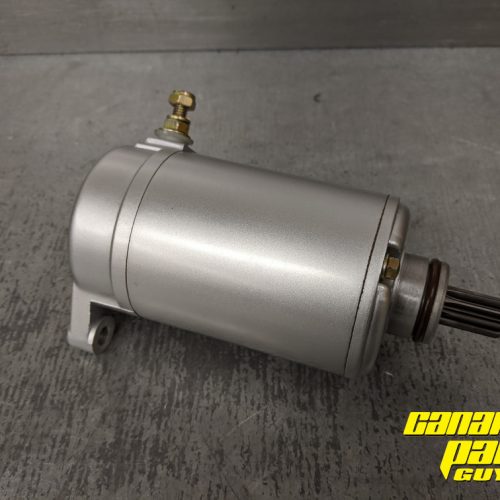
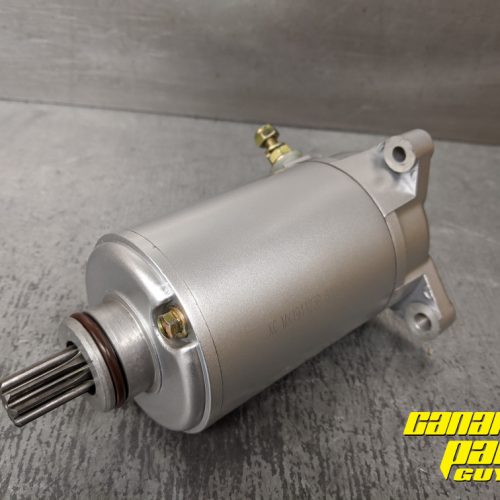
 NEW AFTERMARKET STARTER VTWIN Will come as pictured Part Numbers: 420684560 420684562 420684568 420684566
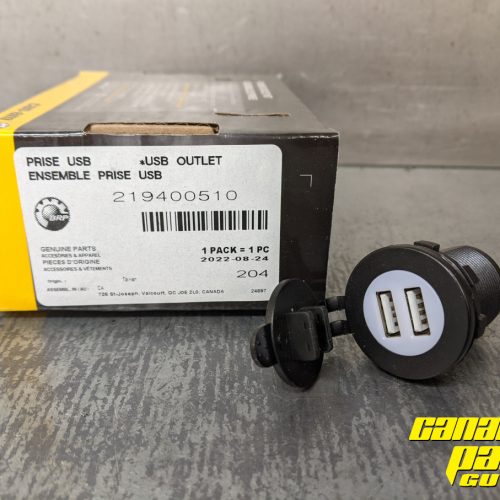
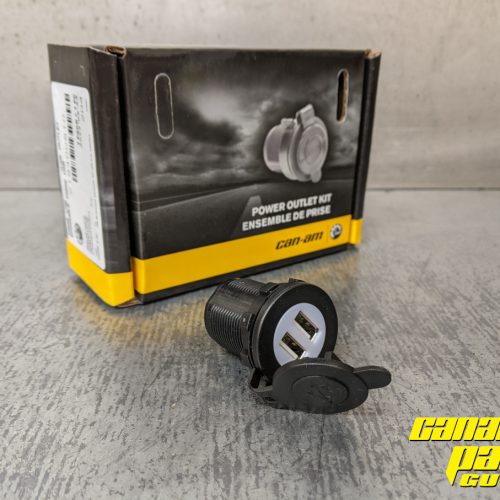
Dual USB Power Outlet Kit A simple upgrade kit, plug and play Product Number: 219400510 replaces the existing 12v power outlet on your machine: 710001248

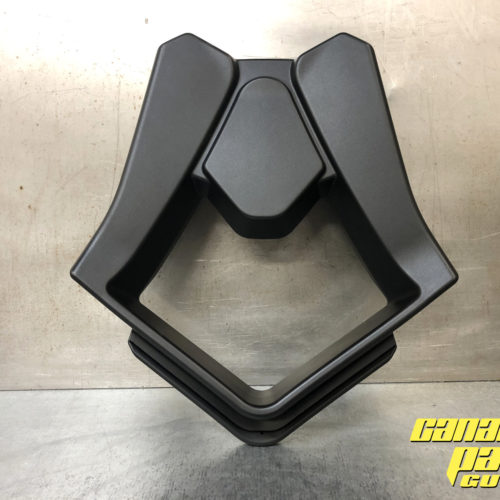 Used- Like New Condition OEM Head Rest Product Number: 708001074 Fits 2013-2018 Maverick, and 2014-2020 Commander Comes as Pictured
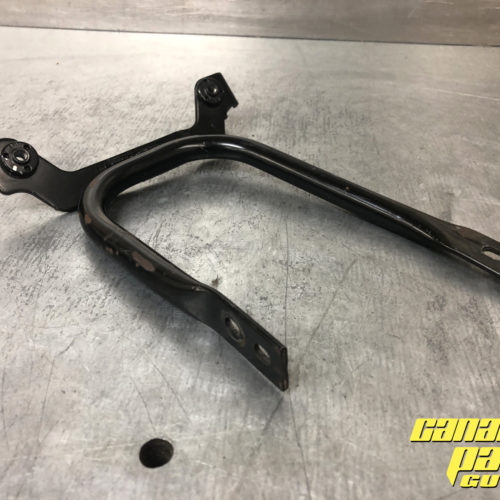
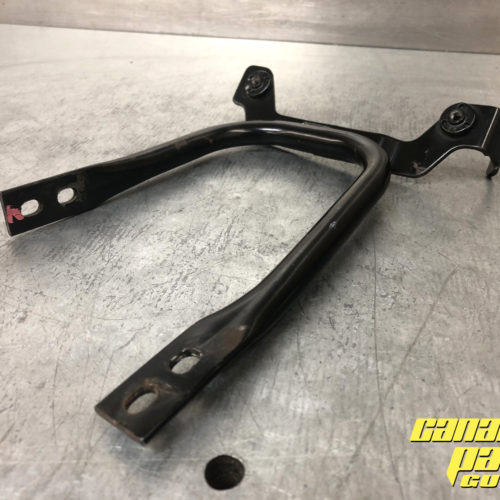 Used- Good Condition, some slight surface rust OEM Intake Manifold Support Part Number: 420651521 Fits 2011-2020 Commander and 2013-2018 Maverick Comes as Pictured
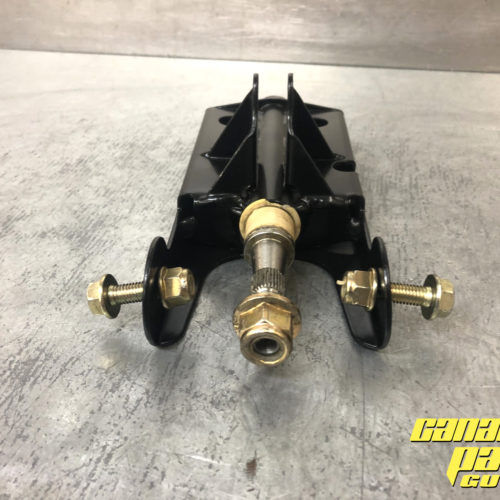
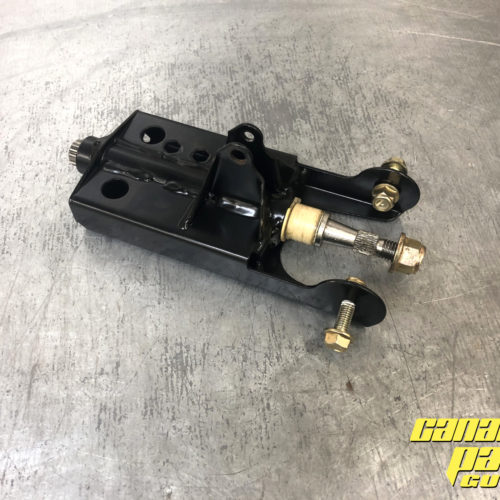 Used OEM Steering wheel support and steering shaft Good condition, a slight chip on the steering shaft plastic insert, shouldn't affect operation Comes as pictured Part Number: 709401167 and 709401391
- OUT OF STOCK
 New Genuine OEM Comes with 3 programmable keys Work key: Limits vehicle speed to 40 kph (25 mph) but does not limit engine torque. Normal key: Defender models: Limits vehicle speed to 70 kph (44 mph) and 10% torque reduction. Maverick Trail & Maverick Sport models: Limits vehicle speed to 70 kph (44 mph) and 50% torque reduction. Performance key: No restrictions. Part number 715002458
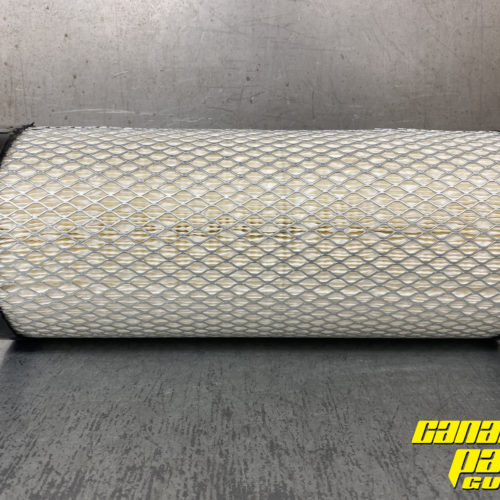
 New Genuine OEM Fits 2017-2020 Maverick X3 and Maverick X3 Max 2019-2020 Maverick Sport Old part number 707800855 Current part number 715900422
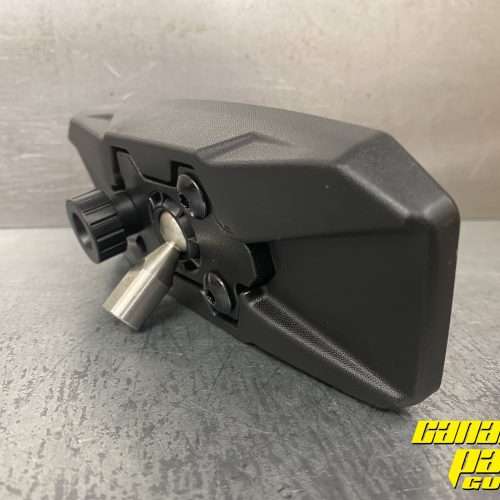
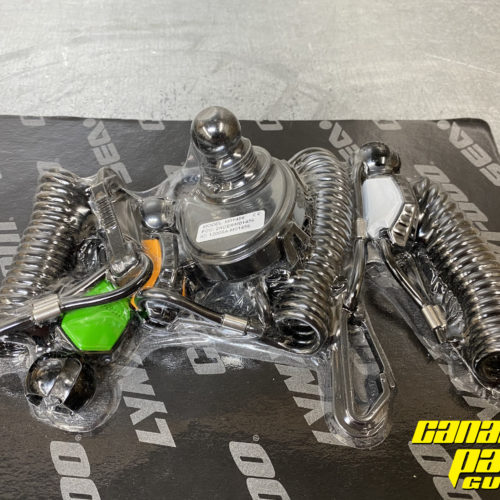
 New Genuine OEM Convex mirror for wide visibility Ball-joint design with tightening knob for steady multi-angle adjustment Can be used with or without roof or windshield Part number 715004924
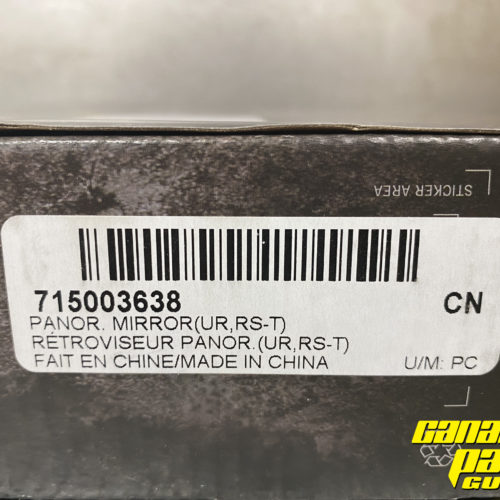
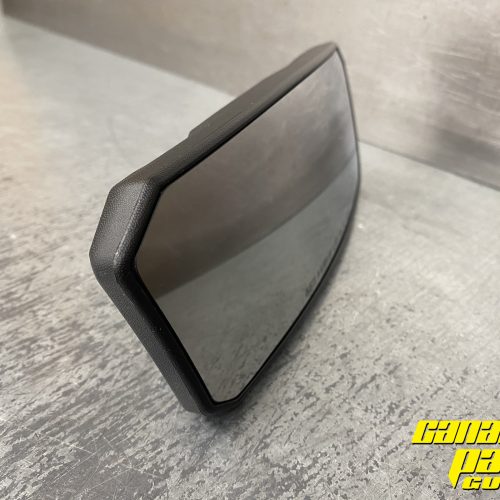
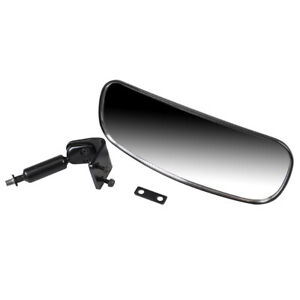 New Genuine OEM Wide angle convex mirror Can be used with or without windshield, roof, or cab enclosure Part number 715003638
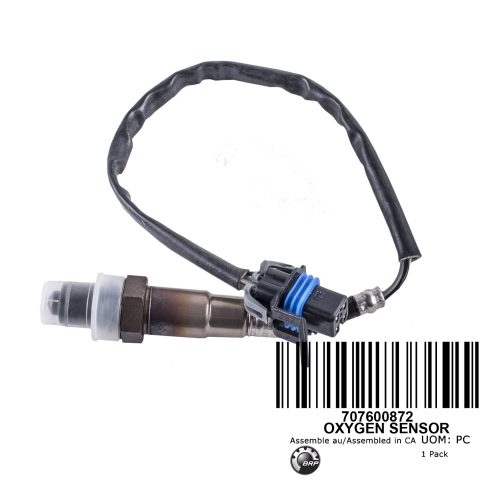
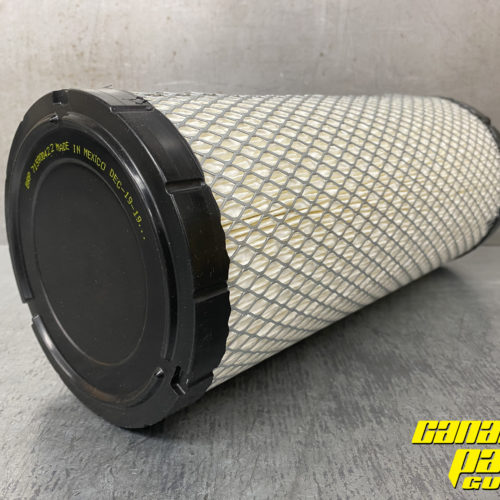
New Genuine OEM Works on 2014-2020 Commander and Commander Max (2011-2013 Do not have a oxygen sensor) 2013-2018 Maverick and Maverick Max 2017-2020 Maverick X3 and Maverick X3 Max 2018-2020 Maverick Trail 2019-2020 Maverick Sport 2017-2020 Defender and Defender Max If your machine has ECO mode it will have a oxygen Sensor from factory Part number 707600872

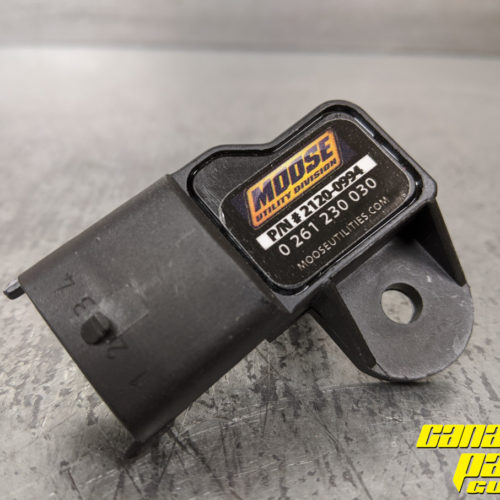 Air Pressure sensor, this goes in the Black plastic Intake manifold. Will work on any 2006 to current Can am Outlander, Renegade, Commander, Maverick, Defender 500 570 650 800 850 1000 XT XMR MAX or XXC The Manifold Absolute Pressure sensor or MAP sensor is a sensor that is attached to the intake manifold. The MAP sensor responds to changes in the intake manifold pressure (vacuum) and provides a reading of engine load. How it works is 5 volts DC is supplied to the sensor from the ECU. Inside the MAP sensor there is a resistor that moves in relation to intake manifold pressure. The resistor varies the voltage between about 1V to 4.5V (depending on engine load) and that voltage signal is returned to the PCM to indicate manifold pressure (vacuum). This signal is essential for the PCM to determine fuel delivery. Part numbers: 420874650 707000564 707000995 0 261 230 030 ALFA ROMEO 46553045 ALFA ROMEO 46533518 CHERY S21-3614021 FIAT 46553045 FIAT 77364869 FIAT 7084986 FIAT 0000046553045 FIAT 46533518 LANCIA 46533518 LANCIA 0000046553045 LANCIA 46553045 MOOSE 2120-0994 PROTON PW810694 ROTAX (BOMBARDIER-ROTAX GMBH) 874 650 SCANIA 5166434
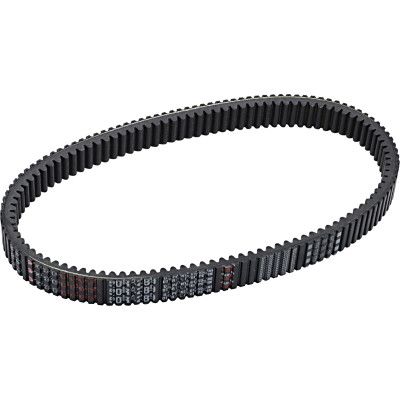
Drive Belt Can Am Fits: 2017-2020 Maverick X3 900HO Turbo R Turbo RR 2017-2020 Maverick Trail/Sport 800R, 1000, 1000R 2016-2020 Defender HD10/HD8
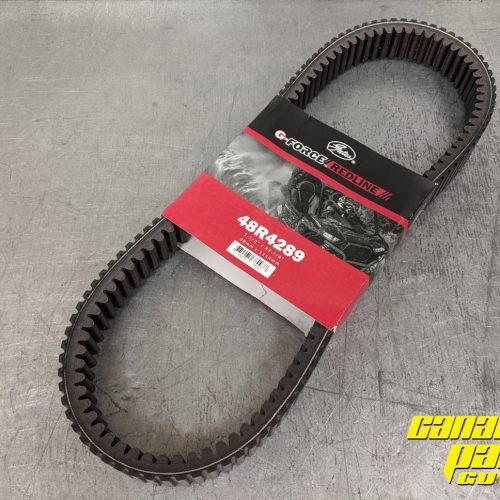
Replaces OEM # 422280651 / 417300383 / 422280654 / 422280652 Gates Part number 48R4289 If you have fitment questions, please ask, we are here to help.
IF YOUR MAVERICK HAS A REAR DRIVESHAFT (OG MAVERICK) THIS BELT WILL NOT FIT.
FEATURES AND BENEFITS
Designed for the most demanding, turbo-charged off-road CVT applications. With Gates proprietary materials and design, G-Force™ RedLine™ CVT belts handle extreme temperatures with excellent heat recovery, while maximizing load and torque capacity - making it one of the most efficient CVT belts currently on the market.- First on the market to utilize Ethylene Elastomer compound to address the needs of larger SxS and high-horsepower ORVs in tough riding conditions.
- Next-generation EE compound offers maximum transverse stiffness and heat resistance, resulting in higher load capacity, higher peak torque capacity, less “heat fade” and less speed loss.
- Delivers 75% greater dynamic axial stiffness on average, up to 50% lower speed losses and better recovery from temperatures up to +170°C (+338°F) without power loss.
- Unmatched Temperature Capability – Runs cooler, resists glazing for better recovery and reduced cracking/chunking out after running at temps exceeding +149°C (+300°F).
- Extended Belt Life – Belt life increased 100-300% versus aftermarket competitive belts in severe duty lab test conditions and in field testing.
- Higher Power Capacity – Reduced speed (rpm) loss by 50% under high loads and increased load capacity by >10% compared to other aftermarket belt.
DON’T BREAK YOUR BELT. BREAK IT IN.
If you don’t break the belt in properly, you’ll find yourself shredding the belt instead of the terrain. In fact, most powersports belt failures can be attributed to improper break-in and clutch adjustment – or not breaking in the belt at all. Follow these steps to ensure the best performance and longest life from your G-Force™ belt.
1. Clean the clutches according to manufacturer specifications and clean the sheaves with a Scotch-Brite™ pad. Remove old belt residue, glazing, oils, and debris with alcohol or acetone on the clutch sheave area. Be sure your breather tubes are free of any belt material (broken belt material gets everywhere)
2. Install and Break It In. Perform two heat cycles (10-15 minutes each) at +27°C (+80°F) at 30-40 mph (2-wheel drive) with cover installed. Bring the belt temperature down to normal operating temperatures, then shut down and let cool for 30 minutes. Repeat the process a second time. If belt installation is at a temperature of +16°C (+60°F) or below, perform two heat cycles in 20 minutes at 30-40 mph (2-wheel drive) with cover installed. Bring the belt temperature down to normal operating temperatures, then shut down and let cool for 30 minutes. Repeat the process a second time. Conservatively run through the entire shift range, without exceeding ¾ throttle. Bring the belt back to normal operating temperature (15 minutes) then shut down and completely cool the belt for 30 minutes. Repeat the process.
Have Questions?
Our staff is available to answer questions
canampartsguy@gmail.com
1340 Okray Ave.
Plover, WI 54467
jared@canampartsguy.com
Cant find What you're looking for?
Visit our  store!
2016 Can Am Parts, LLC. All rights reserved.